Installing a SlapOS Node
This tutorial will guide you through the process of installing a SlapOS node on a computer. A regular node (referred to as COMP-1,2,3) is used by the SlapOS Master to install software on the node and then provide instances of this software within computer partitions. For details please refer to the SlapOS introduction.
For this tutorial you will require a SlapOS Master and (first) user account, which can either be your own installed SlapOS Master or a commercial service like Vifib to register your node and another computer on which to install the SlapOS node. The tutorial will use an arbitrary GNU/Linux server from a cloud provider (Debian10, available for example from OVH or Online.net) with wget installed.
Note, that there is one node referred to as COMP-0 throughout the documentation, which provides services to SlapOS Master (COMP-ROOT) besides regular nodes like the one we are going to install here (called COMP-1,2,3...).
SlapOS Node Installation
The following steps will guide you through the installation of a SlapOS on a server. This includes handling both IPv6 connectivity to be able to access computer partitions and the eventually instantiated software as well as installing the SlapOS node (including partitions) along with the SlapOS client.
If you are planning to use ViFiB (commercial services), the corresponding/differing steps for how to install a node with ViFiB are pointed out as well.
SlapOS Master Dashboard

Start by logging into your SlapOS Master's Dashboard with your administrative user credentials at (preferred url):
https://master.YOUR_DOMAIN/
or:
https://[instance-IPv4]/erp5/web_site_module/hostingjs/
For using ViFiB start by creating a user account and then request a FreeFib token instead of the re6st token shown here (be careful, a Freefib token is a re6st token, not a SlapOS master token).
If you are using a Freefib token, you can jump directly to "Install Re6st" section once you have the token, otherwise follow the steps below to get your re6st token.
List of Instantiated Services

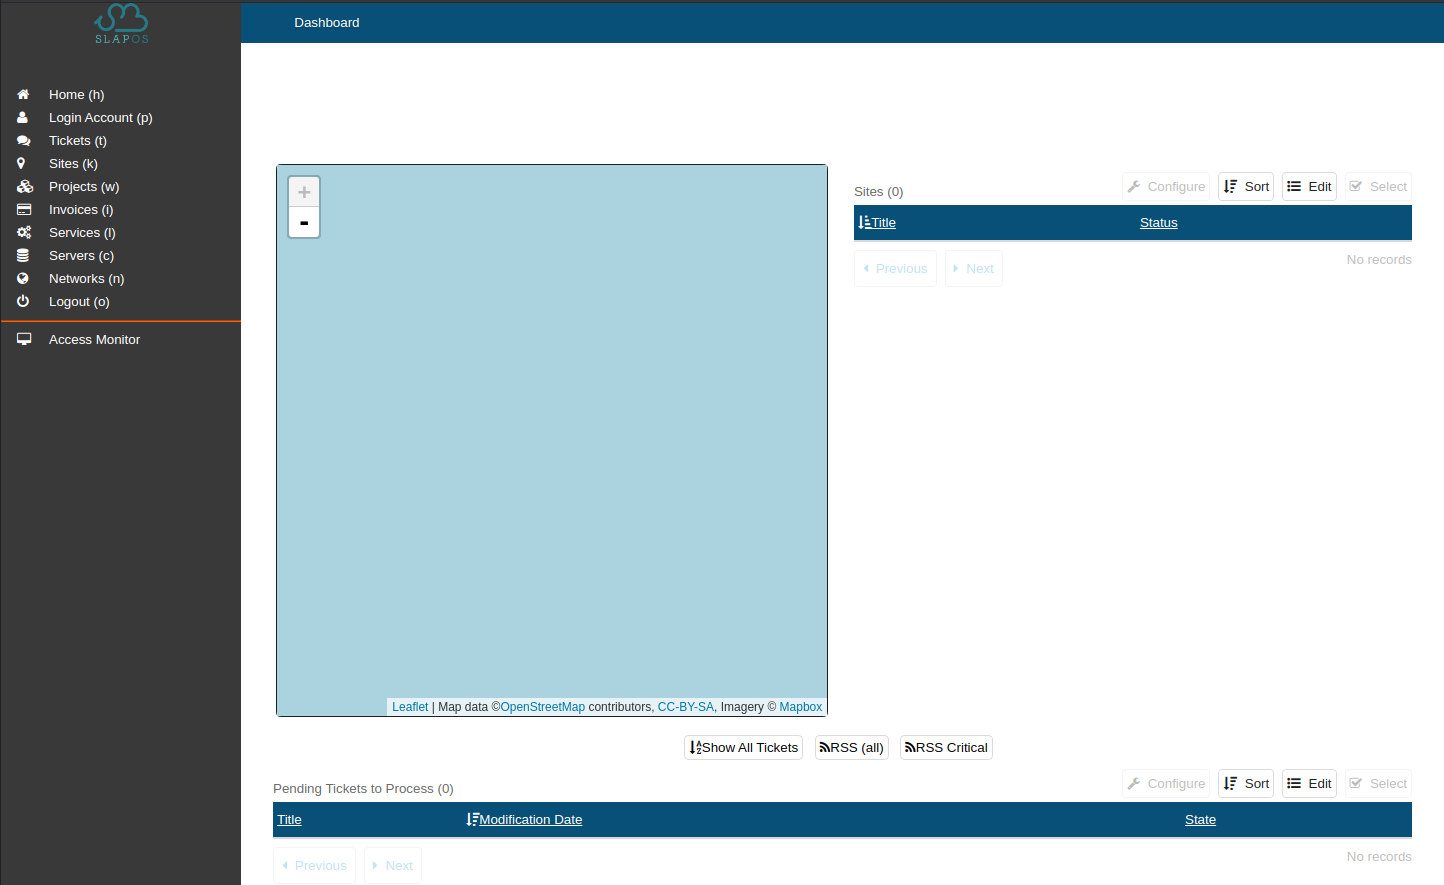
Head to the list of services by clicking on the Services button on the side menu. The list will show all services currently instantiated (not the software currently installed!). To create an instance of an installed software, click the Add button in the subheader.
Create New Res6st Token Instance

Select Re6st as this is the service we want to create an instance from.
Select Re6st Service Version

Please choose the latest version.
Re6st Registry Configuration

Select Software Type Re6st Token which will load a form with instance-specific parameters.
Every new node that should be added to the network will require a re6st token, so give this token a recognizable name (Re6st-TOKEN-[my_computer_name] for example).
Select the Computer on which the Re6st Registry of your SlapOS Master was installed at the bottom of the page, then click Proceed to instantiate the service. You will be forwarded to the list of current services. Refresh the page, it may take a few minute for the node to be instantiated and the token to appear. It is a single use token to connect one other node to the network, meaning that if the installation later fails for some reason, you need to destroy the instance token being created and create a new one.
Instantiate Re6st Token

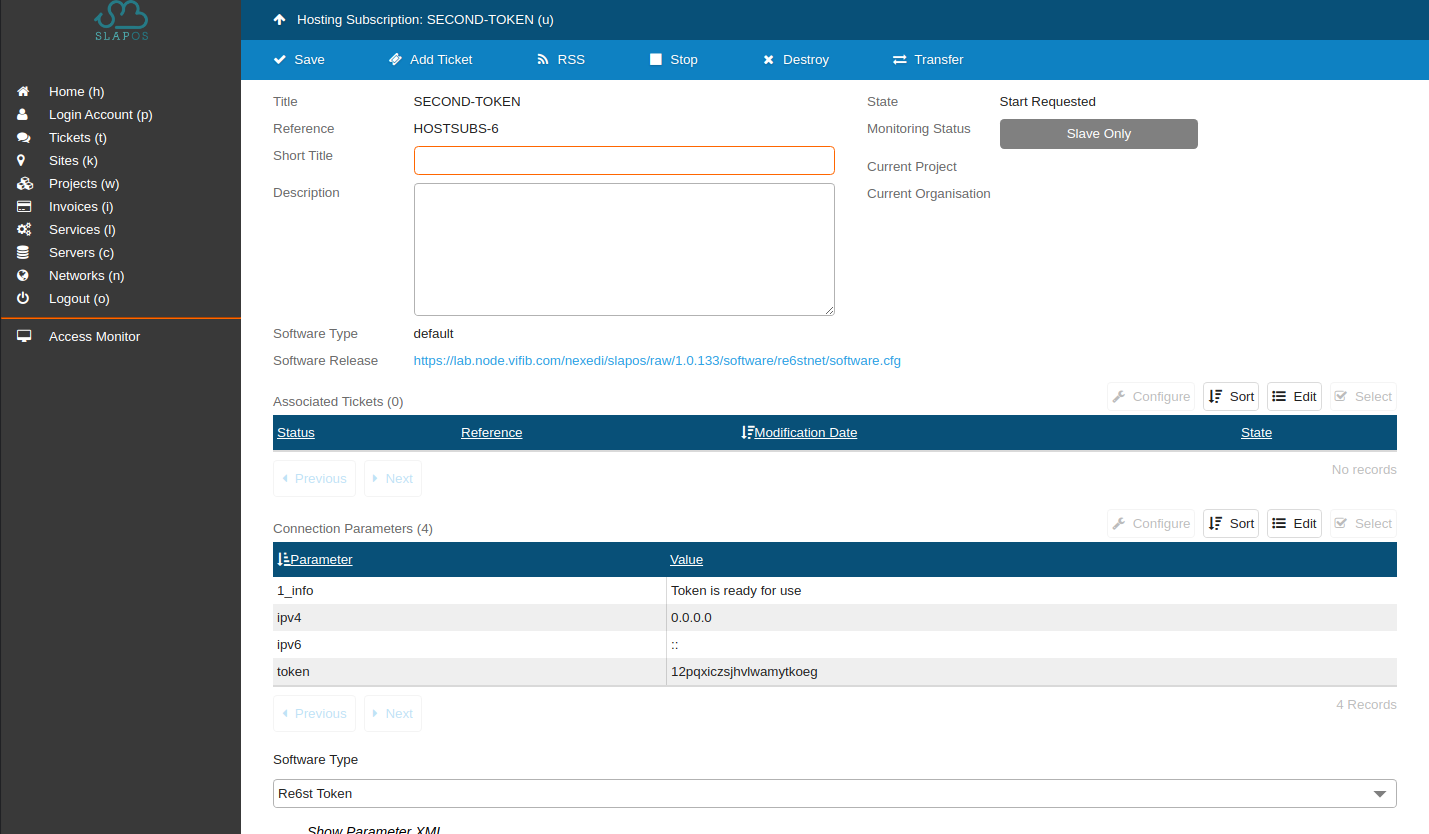
Refresh the list of instantiated services to make the token appear. Click on it to access the connection parameters.
Token Connection Parameters

Locate the token in the Connection Parameters. It might require a few minutes to show up. Refresh the page to see whether the token has been instantiated.
With the token you can now install Re6st on your new machine.
Installing Re6st
sudo su
$ dnf install wget # Redhat like Linux
$ apt install wget # Debian like Linux

(...)

$ # Production Re6st network:
$ wget https://deploy.erp5.net/re6st && bash re6st

$ # Free Re6st network service:
$ wget https://deploy.erp5.net/gnet/re6st && bash re6st
ssh into the terminal of your server, switch to root and verfiy wget is available. Then install re6st as shown above. If you are installing the default Re6st, the script will ask you:
What is the Url of the Re6st registry: [your-master-url]
Please insert your re6stnet token: [your-token]
Provide the master-url you noted when setting the port forwarding for the Re6st Registry in installing SlapOS node (Comp-0) - it should be http://[your_IPv4_address]:9201) along with the token and continue.
If you are installing Re6st to access ViFiB (with a FreeFib token), make sure you use the second installer listed above (from the gnet folder).
The setup should finish without errors:
...
PLAY RECAP ************************************************************************************************************************
127.0.0.1                  : ok=25   changed=11   unreachable=0    failed=0
Verify Files Created
sudo su
# ls /etc/re6stnet/
ca.crt     cert.cert     cert.key     re6stnet.conf     README
Verify that the configuration files were created. You can also call:
echo "default" >> /etc/re6stnet/re6stnet.conf
and make sure the service is started by calling:
systemctl restart re6stnet
Verify Re6st is Running
sudo su
# service re6stnet status
You can use the above command to see whether Re6st is working. The output should be similar to:
● re6stnet.service - Resilient, Scalable, IPv6 Network application
   Loaded: loaded (/lib/systemd/system/re6stnet.service; enabled; vendor preset: enabled)
   Active: active (running) since Fri 2020-09-25 17:20:38 CEST; 8s ago
  Main PID: 6266 (re6stnet)
    Tasks: 5 (limit: 4696)
   Memory: 18.7M
   CGroup: /system.slice/re6stnet.service
           ├─28284 /opt/re6st/parts/python2.7/bin/python2.7 /usr/sbin/re6stnet @re6stnet.conf
           ├─28306 openvpn --dev-type tap --dev re6stnet-tcp --persist-tun --persist-key --script-security 2 --up /opt/re6st/eggs/r
           ├─28318 babeld -h 15 -H 15 -L /var/log/re6stnet/babeld.log -S /var/lib/re6stnet/babeld.state -I /var/run/re6stnet/babeld
           └─28323 openvpn --dev-type tap --dev re6stnet1 --persist-tun --persist-key --script-security 2 --up /opt/re6st/eggs/re6s

Sep 25 17:20:38 comp-123 systemd[1]: Started Resilient, Scalable, IPv6 Network application.
After this step Re6st is installed and the machine is accessible over IPv6.
Get SlapOS Master Token

Head back to the SlapOS Dashboard at:
https://master.YOUR_DOMAIN/ (preferred)
or:
https://[instance-IPv4]/erp5/web_site_module/hostingjs/
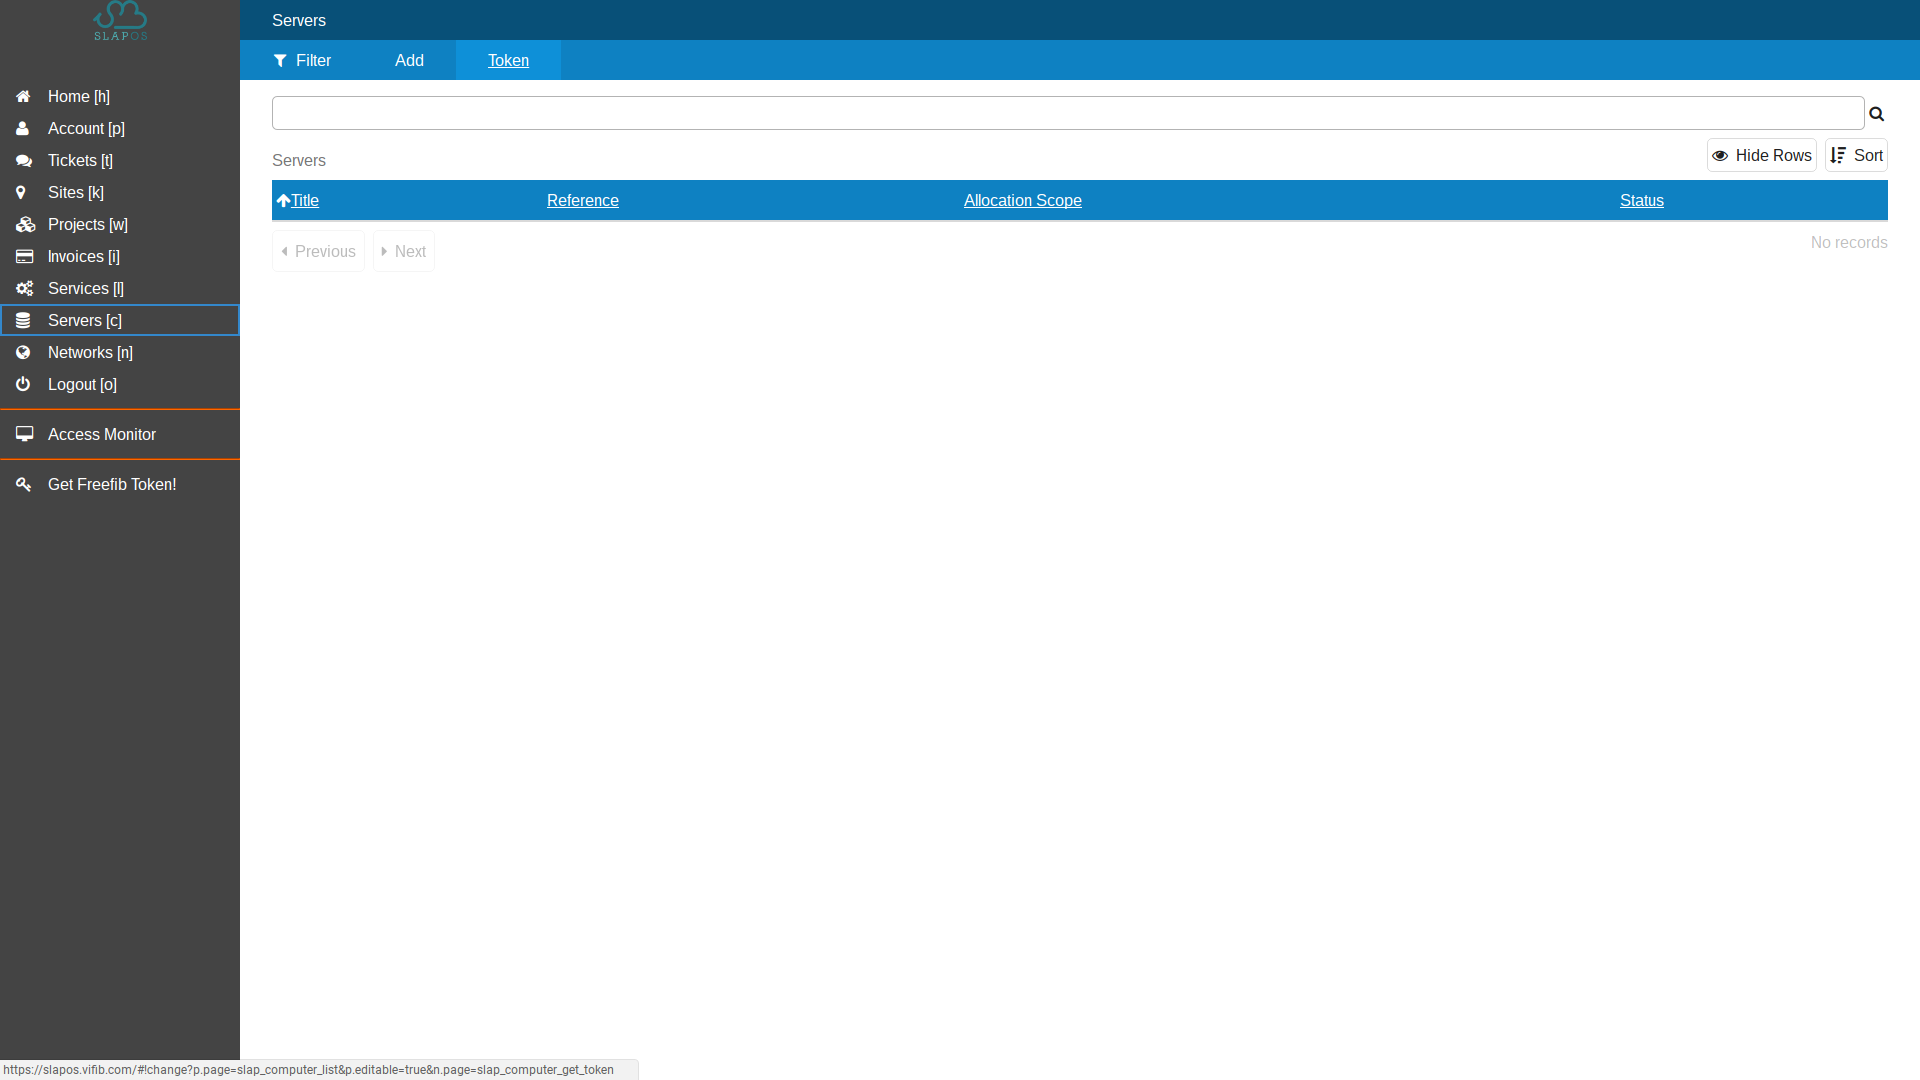
and log in as a administrative user. Click on the Servers link in the side to go to your list of servers.
When using the single line installer, you have to provide a X509 security token to identify your node with a SlapOS Master and enable it to manage the node within a network. To get such a token, in the subheader, click Token.
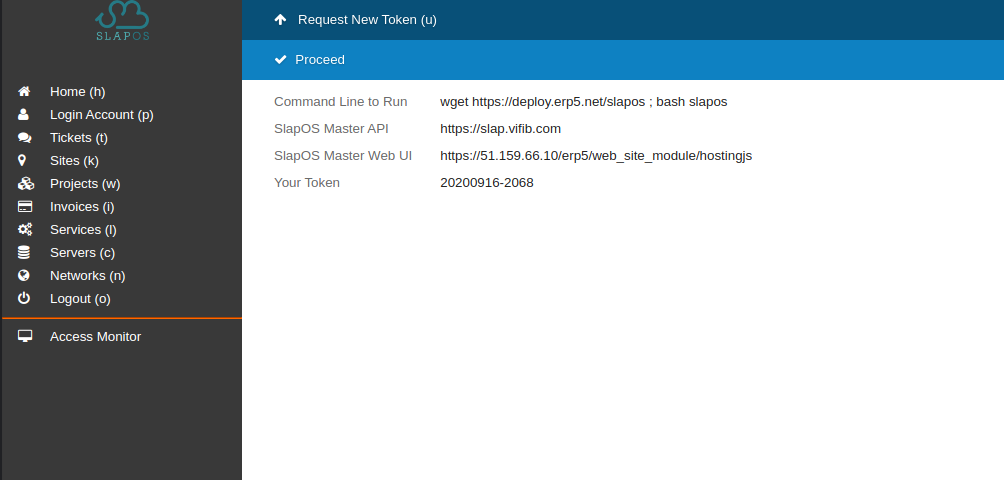
Association Token

Click Token to request a token. Once it's generated, copy the token for later. Note, that the token can only be used once. If the installation of SlapOS fails for whatever reason and you need to retry, you need to request a new token before. Head back to the terminal.
Single Line Installer
sudo su
# wget https://deploy.erp5.net/slapos && bash slapos

...

# What is the url to the SlapOS Master API? (ignore if you already have a configured re6st and slapos): [https://slap.vifib.com/]:
# What is the url to the SlapOS Master Website? (ignore if you already have a configured re6st and slapos): [https://panel.rapid.space/]:
# Name your computer (ignore if you already have a configured re6st and slapos or if you don't want to register your computer to SlapOS Master): [noname]: Your_computer_name
# Input your slapos token (ignore if you already have a configured slapos) [notoken]: Your_token
# Which interface will provide IPv6? (ignore if you already have a configured re6st) [lo]:
# How many SlapOS computer partitions would you like? [10]:
Continue and use the single line installer. You will be asked a set of questions during the installation. As you are connecting to your own master, on the first question, please point to port 5443 of your master's IPv4 address, so enter https://[your_IPv4_address]:5443 and on the second question, please add your SlapOS Master dashboard url. Same as you are using to get the token:
https://master.YOUR_DOMAIN
Choose a name for your computer (like SOFTWARE-BOX-1 to identity it in your network and finally enter the association token you have received earlier from your SlapOS Master.
Once the installation has finished without errors, you should see:
...
PLAY RECAP ************************************************************************************************************************
127.0.0.1                  : ok=13   changed=2    unreachable=0    failed=0
In case installation fails and you want to start over, you need to request a new token as mentioned above and, depending on whether already created, remove any existing configuration in /etc/opt/slapos/slapos.cfg before restarting.
You can verify that SlapOS was installed by trying:
root@comp-123:~# slapos node
watchdog                         RUNNING   pid 5403, uptime 0:00:02
And (re)formatting the SlapOS node:
root@comp-123:~# slapos node format --now
2020-09-25 17:41:49 slapos[5431] INFO Updating computer
2020-09-25 17:41:51 slapos[5431] INFO Posting information to 'https://51.159.66.10:5443/'
2020-09-25 17:41:51 slapos[5431] INFO slapos successfully prepared the computer.
SlapOS Dashboard - Registered Servers

Head back to your SlapOS Dashboard and verify the list of servers now includes your SlapOS Node which was associated to your network using the token you had created. You may have to refresh the page for the server to show up.
Note, the entry has three clickable areas:
- The line itself (click server name for example) points to the server configuration
- Clicking the Computer button will open the monitor - the green color indicates the server is active and contacting the Master (yellow points at connection issues with the computer or one of its partitions, red means the computer has lost connection)
- The Partitions button will only be visible after the first instance of an installed software as been provided.
Thank You
- Nexedi SA
- 147 Rue du Ballon
- 59110 La Madeleine
- France