Use SlapOS Client
This document describes how to setup and use the SlapOS client (called Slapconsole), a utility software to manage SlapOS nodes, instances and the SlapOS Master account on the command line. It is a bare Python console with several global variables defined and initialized so it can interact with a SlapOS Master through the SLAP Library.
To use the SlapOS Client you need a SlapOS-formatted GNU/Linux Server with ssh access and a SlapOS Node installed from packages. It is not necessary to configure the node, the package itself with the respective binaries is all that is required. You will also need a X509 security token from a SlapOS Master (you can use Vifib.com or create your own SlapOS Master).
Table of Content
- SlapOS Client
- Available Commands
- Instance Allocation via SlapOS Client
SlapOS Client
Slapconsole allows to automatically connect to a SlapOS Master using URL and SSL certificate from a given slapos.cfg configuration file. This section will outline the steps on how to setup the SlapOS client and console.
Setup
$ sudo su
# slapos configure client
SlapOS will use the SSL certificate from a given slapos.cfg configuration file, namely:
- master_url: read from [slapos], the SlapOS Master to connect to.
- cert_file: read from [slapconsole], the SSL certificate.
- key_file: read from [slapconsole], the SSL key.
With Slapconsole you can request and manage your instances and install Software Releases on network nodes as if they were managed through the SlapOS Master Dashboard. To associate your node with the master, start by requesting a X509 security token.
Get SlapOS Master Token

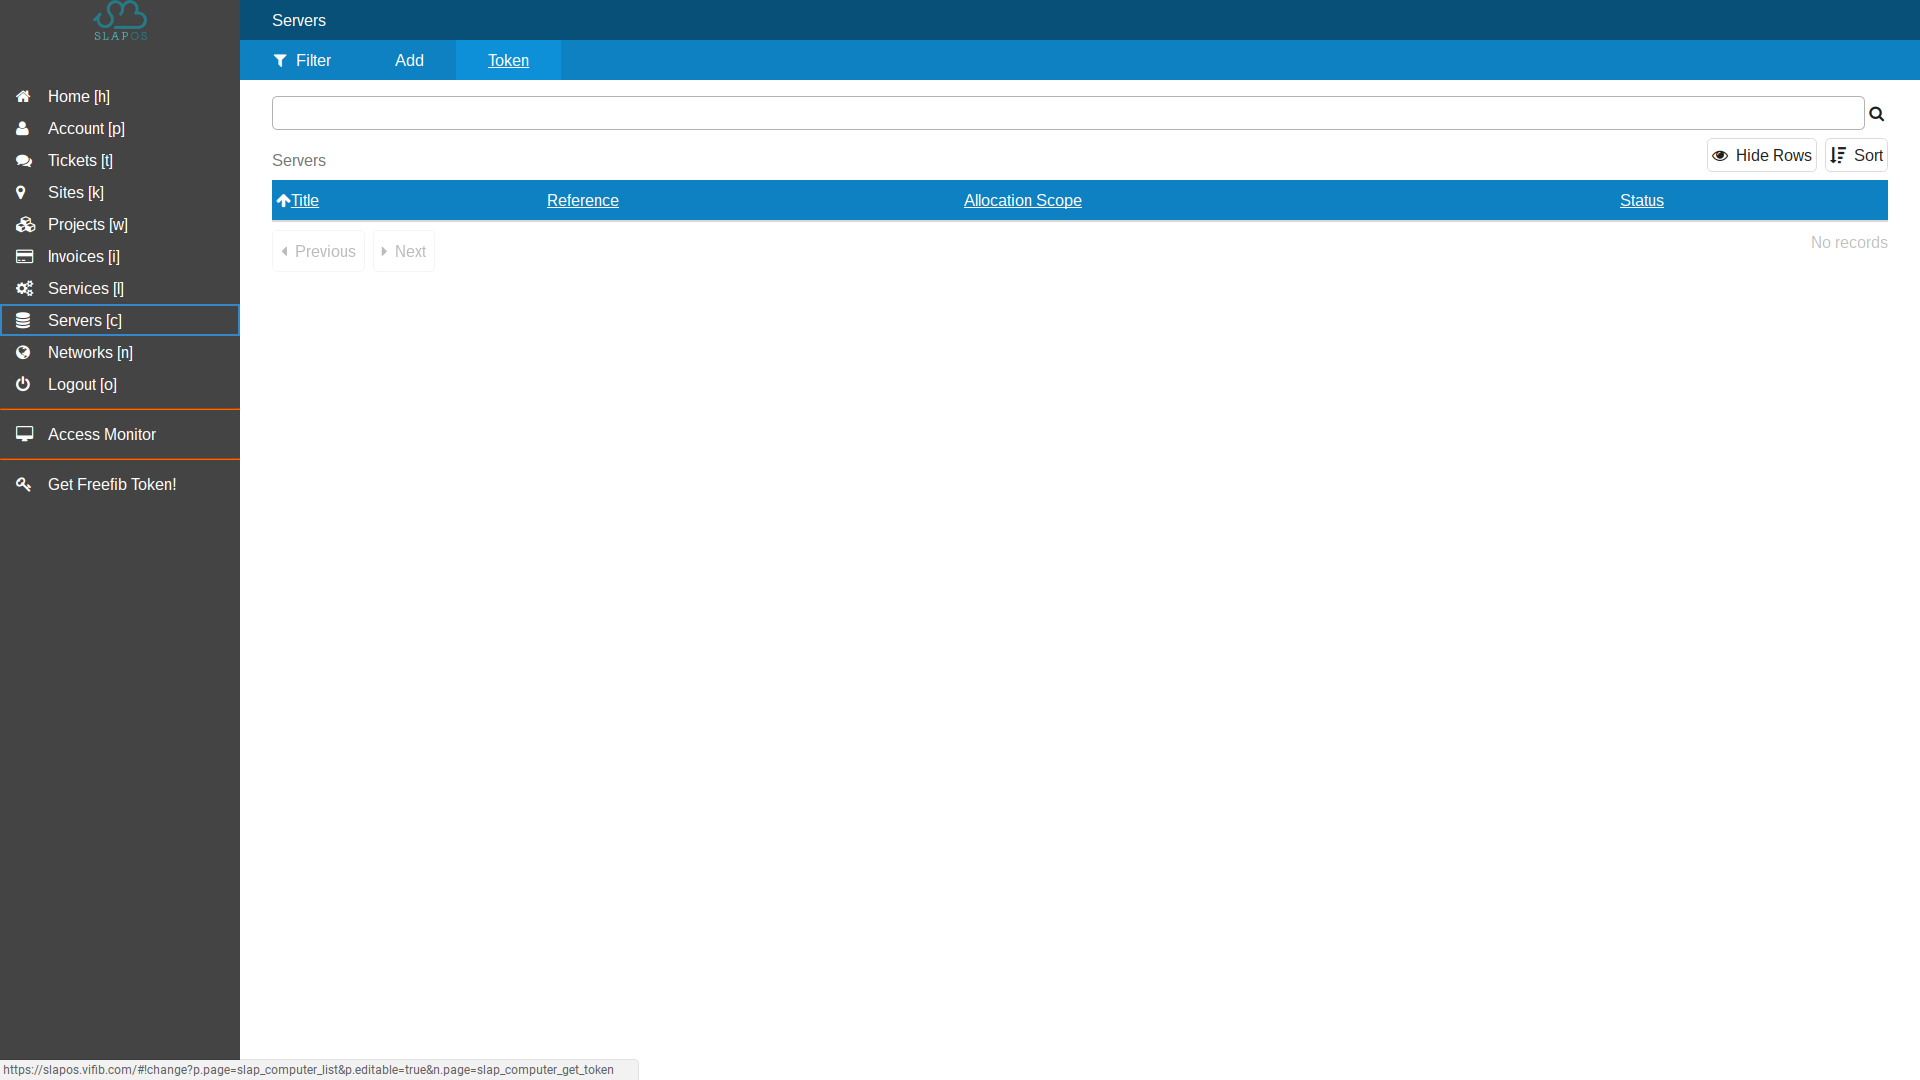
In your SlapOS Master Dashboard, start by clicking Account in the side menu and Token in the subheader to request a new security token.
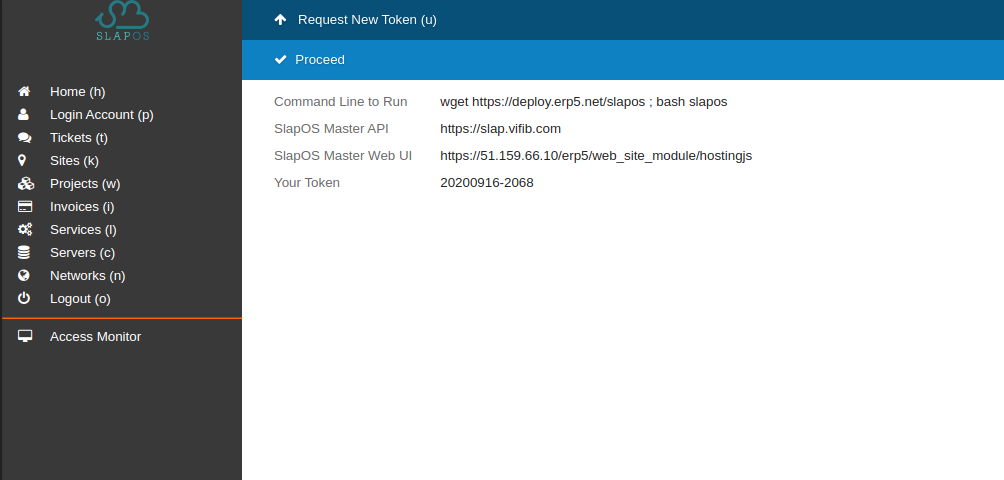
Association Token

Proceed to request a token. Once it's generated, save the token.
Initialization and Configuration
$ sudo su
# slapos configure client
In your terminal run slapos configure client which will create a number of configuration files. During the process you will be asked to input the token previously created. You should find the following files after configuration:
$HOME/.slapos/slapos-client.cfg
$HOME/.slapos/certificate : Your user SSL Cetificate
$HOME/.slapos/key: Your user SSL Private Key
You can now edit the $HOME/.slapos/slapos-client.cfg by including aliases:
alias =
webrunner https://lab.nexedi.com/nexedi/slapos/raw/1.0.49/software/slaprunner/software.cfg
Verify the certificates are ok:
# verify certificate
$ /opt/slapos/parts/openssl/bin/openssl x509 -noout -in $HOME/.slapos/client.crt

# verify key
$ /opt/slapos/parts/openssl/bin/openssl rsa -noout -in $HOME/.slapos/client.key -check
No output or positive command states mean everything is ok.
API: Activiate Console
slapos console --cfg ~/.slapos/slapos-client.cfg
Once everything is setup, the console is available at:
slapos console --cfg ~/.slapos/slapos-client.cfg
API: Global Functions and Variables
- product
- slap
- software_list
- [software release]
The following variables are available in the SlapOS Client:
- product, an instance of
slap.SoftwareProductCollection, used to retrieve the most suited release URL of a given software, which is passed as attribute. It allows simplifying calls like
request("http://www.url.com/path/to/current/best/known/kvm/software.cfg", "mykvm")
to
request(product.kvm, "mykvm")
- slap is an instance of the SLAP library (for advanced usages):
slap = slapos.slap.slap()
slap.initializeConnection(
  config.master_url,
  key_file=config.key_file,
  cert_file=config.cert_file
)
- software_list is the dictionnary of all officially supported software releases on a SlapOS Master
- [software release] each supported software is also available as global variables, for example
kvm, mysql-5.1, joomla, etc., so you can use product.joomla or joomla
API: Methods
The following methods are available on a SlapOS Client (full api):
- supply() is shorthand for
slap.registerSupply().supply() and allows to request installation of a software on a node.
- request() is shorthand for
slap.registerOpenOrder().request() and allows to request instances of a software installation on a node.
- remove() uninstalls a software from a node
Example Usage
# supply software installation on a node
supply(product.kvm, "mycomputer")

# request instance on arbitrary node
request(product.kvm, "myuniquekvm")

# request instance on specific node
request(product.kvm, "myotheruniquekvm", filter_kw = {
  "computer_guid": "COMP-12345"
})

# request instance, specifying parameters
request(product.kvm, "mythirduniquekvm", partition_parameter_kw = {
  "nbd_ip":"2a01:e35:2e27:460:e2cb:4eff:fed9:48dc", "nbd_port":"1024"
})
After installing a software on a node, instances can be requested:
# supply software installation on a node
supply(product.kvm, "mycomputer")

# request instance on arbitrary node
request(product.kvm, "myuniquekvm")

# request instance on specific node
request(product.kvm, "myotheruniquekvm",filter_kw = {
  "computer_guid": "COMP-12345"
})

# request instance, specifying parameters
request(product.kvm, "mythirduniquekvm", partition_parameter_kw = {
  "nbd_ip":"2a01:e35:2e27:460:e2cb:4eff:fed9:48dc", "nbd_port":"1024"
})
To fetch an instance status, you can use:
# fetch existing instance status
request(product.kvm, "myuniquekvm").getState()

# fetch instance information from launched instance
request(product.kvm, "myuniquekvm").getConnectionParameter("url")
Instance Allocation using SlapOS Client
This section includes additional more detailed examples demostrating the use of SlapOS console.
Request Instance from Cloud
slapos console --cfg ~/.slapos/slapos-client.cfg
Run the console in a terminal:
$ sudo su
# slapos console --cfg ~/.slapos/slapos-client.cfg

instance_a = request(wordpress, "Wordpress A from console")

instance_a.getState()
  Traceback (most recent call last):
  File "", line 1, in
  File "/Library/Python/2.6/site-packages/.../slapos/console.py", line 108, in
  slap.registerOpenOrder().request(software_release, reference)
  File "/Library/Python/2.6/site-packages/slapos/slap/slap.py", line 162, in request
  self._connection_helper.POST('/requestComputerPartition', request_dict)
  File "/Library/Python/2.6/site-packages/slapos/slap/slap.py", line 469, in POST
  raise ResourceNotReady("%s - %s" % (path, parameter_dict))
ResourceNotReady: /requestComputerPartition
Note, you will receive an exception in case the instance is not ready (most likley not compiled). Retry after a few minutes:
#re-request with existing name to refetch/update parameters
instance_a = request(wordpress, "Wordpress A from console")

instance_a.getState()
# Started
instance_a.getConnectionParameter('url')
Request Instance from Specific Node
$ slapos console --cfg ~/.slapos/slapos-client.cfg
Run the following commands to instantiate a software on a specific node:
$ sudo su
# slapos console --cfg ~/.slapos/slapos-client.cfg

instance_b = request(wordpress, "Wordpress B from console",
  filter_kw={ "computer_guid": "COMP-12345" }
)

instance_b.getState()
Traceback (most recent call last):
  File "", line 1, in
  File "/Library/Python/2.6/site-packages/.../slapos/console.py", line 108, in
  slap.registerOpenOrder().request(software_release, reference)
  File "/Library/Python/2.6/site-packages/slapos/slap/slap.py", line 162, in request
  self._connection_helper.POST('/requestComputerPartition', request_dict)
  File "/Library/Python/2.6/site-packages/slapos/slap/slap.py", line 469, in POST
  raise ResourceNotReady("%s - %s" % (path, parameter_dict))
ResourceNotReady: /requestComputerPartition
Wait for a few minutes, then retry:
instance_b = request(wordpress, "Wordpress B from console",
  filter_kw={ "computer_guid": "COMP-12345" }
)

instance_b.getState()
# Started
instance_b.getConnectionParameter('url')
Request Instance with Parameters
$ slapos console --cfg ~/.slapos/slapos-client.cfg
Modifying parameters in existing instances works the same way as defining them in new parameters:
$ sudo su
# slapos console --cfg ~/.slapos/slapos-client.cfg

# modify our first instance:
instance_a = request(wordpress, "Wordpress A from console",
  partition_parameter_kw={"domain":"mydomain.com"}
)

# wait for a few minutes for the change to be effective:
instance_a = request(wordpress, "Wordpress A from console",
  partition_parameter_kw={"domain":"mydomain.com"}
)

instance_a.getConnectionParameter('url')
Thank You
- Nexedi SA
- 147 Rue du Ballon
- 59110 La Madeleine
- France